
How to Install a Tar.gz File on Linux?
How to Install a Tar.gz File on Linux?
If you use Linux, you will sooner or later find yourself faced with the task of installing a tar.gz file. This article walks through the steps of installing tar.gz files on Linux.
What Is a tar.gz File?
A .tar.gz file is a type of archive file, which is a single file that contains multiple files and directories. The name “tar” stands for “tape archive”, as it was originally used to write data to magnetic tape for backup purposes. The “gz” in the file name stands for “gzip”, which is a compression algorithm used to shrink the size of the file.
The tar command is used to create a tar archive, while the gzip command is used to compress the archive. By combining these two utilities, you can create a single .tar.gz file that contains multiple files and directories.
This format is widely used in Linux and Unix-based systems and is also supported on other platforms like Windows, macOS, etc. It has been used extensively to distribute software packages, source code, and various other data, as it allows to bundle of multiple files and directory in one single file and also compress it for easier distribution and storage.
In summary, A .tar.gz file is a combination of a TAR archive file and GZIP archive file, Which contains multiple files and directories and has been compressed for distribution and storage.
Installation instructions.
First, you need to extract the contents of a .tar.gz file, you can use the tar command with the xzf options to extract the files and decompress them in one step.
Installing a tar.gz file on Linux is relatively easy and can be done using the command line. The process typically involves the following steps:
- Download the tar.gz file to your local machine.
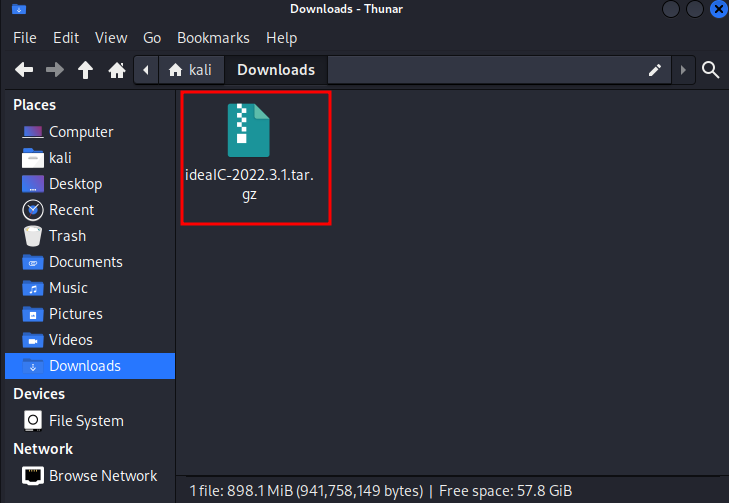
2. Open a terminal window and navigate to the directory where the tar.gz file is located.
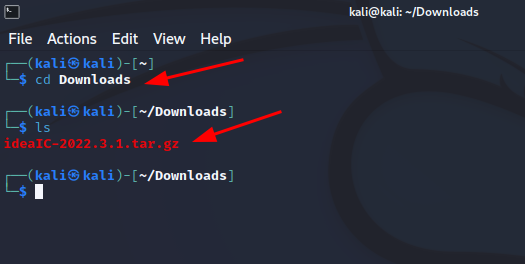
3. Use the tar command to extract the contents of the tar.gz file. The basic syntax of the command is as follows:
tar -xzvf file.tar.gz
- The
xoption tells tar to extract the files. - The
zoption tells tar to decompress the archive using gzip. - The
voption stands for “verbose” and tells tar to display the progress of the extraction process. - The
foption tells tar that a file name follows, and it should be used as the archive file to be extracted.

4. After the extraction is completed, navigate into the new directory created by the extraction process:
cd folder-name

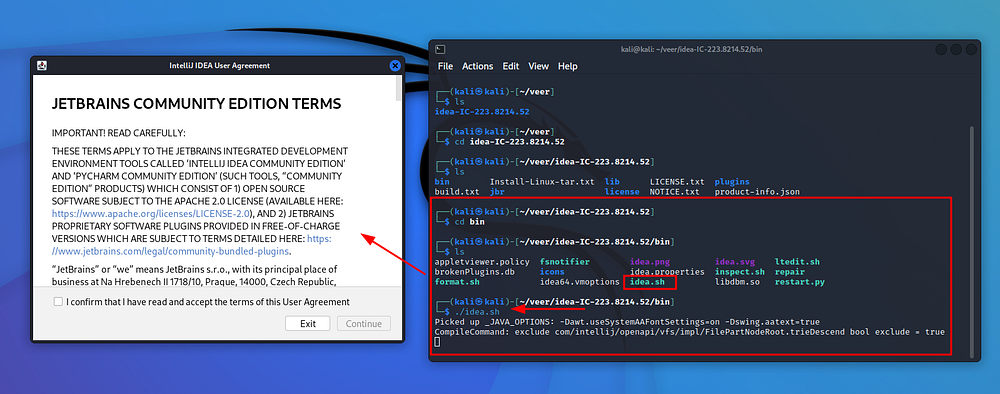
5. If the software package comes with an installation script like install.sh, then you can use the following command to install it:
sudo sh install.sh
6. If it does not have an installation script and contains binaries, you can check the readme or install file for instructions on how to install the package. Generally, you will have to copy the binary files to a directory on your system's PATH, such as /usr/local/bin/.
Like in my case, there was no install.sh,
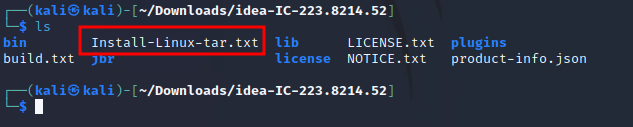
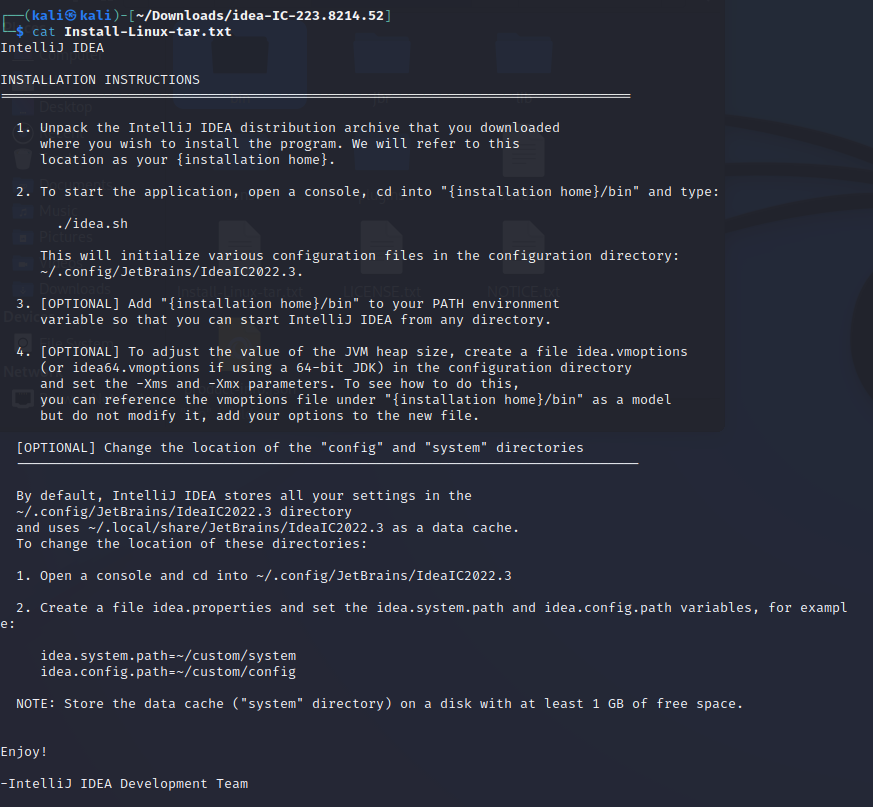
So here I followed the instructions written in,
Install-Linux-tar.txt
In some cases, the software package may come with a .rpm package rather than a .tar.gz file. These packages can be installed using the rpm command, which is typically used to install and manage software packages on Red Hat-based distributions such as Fedora and CentOS.
Please note that the above instructions are general and might vary based on the software package that you are trying to install. You can also use a package manager like apt-get, yum, dpkg etc depending on your Linux distribution.


Post a Comment